This guide covers how lecture capture works, how to manage the classroom camera/projector, and how to run a live meeting for students that are remote through Zoom. Click the green buttons below to navigate this guide.
Note:This guide is specific to large standard classrooms.
Note for users of screen readers: letters in parentheses in the instructions below refer to corresponding areas on example images. If you have any questions about these instructions, contact eLearning for assistance.
Lecture Capture Recording
How to start and stop recording
This room is automatically scheduled based off the classroom schedule to record the classroom camera and shared content (what is being presented on the projector). The recording will start at the start time of your class and will end automatically 5 minutes after the end of your class time.
You can confirm your classroom is successfully recording by ensuring the Recording (A) symbol is displayed on the Crestron Control Unit. Click and hold this button to manually stop the recording if you finish earlier than your scheduled time.

What is Recorded
The video being recorded is a dynamic video that contains both the classroom camera and any content you are sharing on the classroom projector. Your students will be able to decide how to view the video: Picture-in-picture, Side-by-side, or full screen.
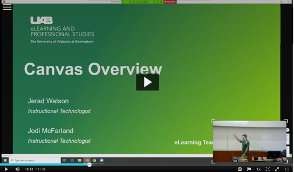 Picture-in-Picture
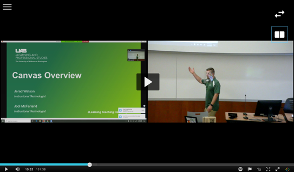 Side-by-Side
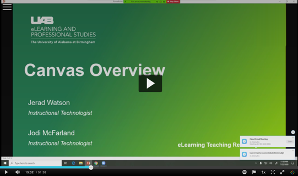 Full Screen
To ensure your lecture is captured, choose the appropriate options relevant to how you are facilitating class shown in the next section of this guide.
How to Manage the Classroom Camera and Shared Content
 Classroom Camera
This room’s classroom camera is set to auto-track the instructor as they walk in front of the classroom by default.
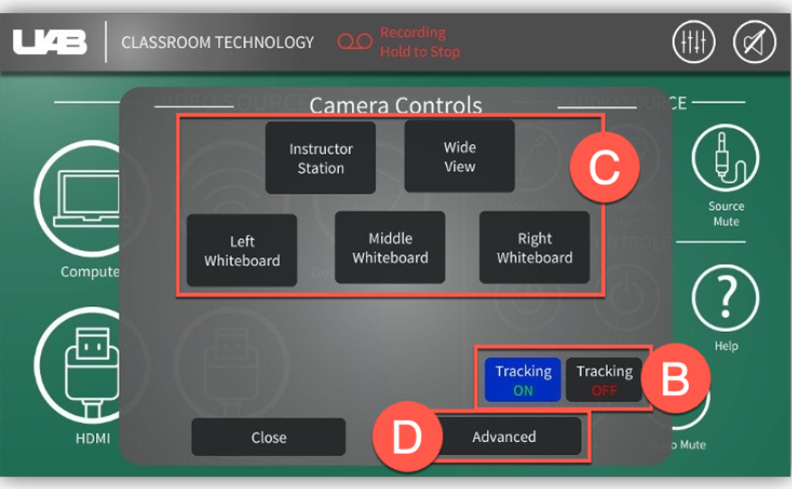
 To change the camera mode, click the Camera (A) icon on the Crestron Control Unit and select the desired mode.
- Auto-Tracking (B) Toggle on/off – automatically follows the instructor as they walk in front of the classroom
- Preset Locations (C) – can tell the camera to stay in the following locations
- Instructor Station - zoomed in to the lectern
- Left Whiteboard - zoomed in to the left whiteboard
- Center Whiteboard - zoomed in to the center whiteboard
- Right Whiteboard - zoomed in to the right whiteboard
- Wide-View- shows the entire front of the room
- Manual Control (D) –manually pan, tilt, or zoom the camera to the desired location
 Shared Content
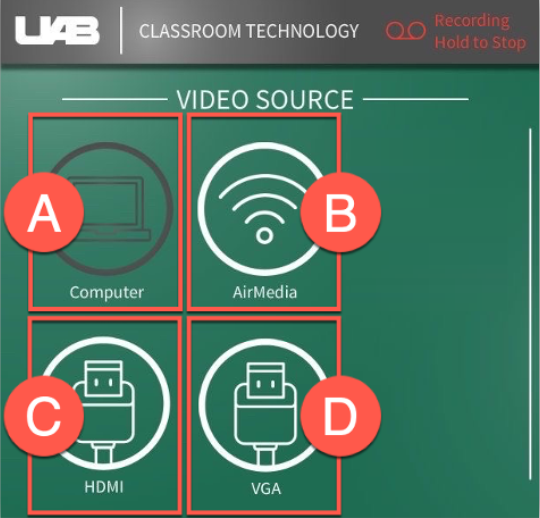
When an instructor starts class, the projector defaults to showing the Lectern Computer.
To change the content being shared on the projector and lecture capture recording click the desired content to share.
- Lectern Computer (A) – Anything showing on the computer monitor displays on the projector
- AirMedia (B) – allows you to connect a device wirelessly by downloading an app and typing in code
- HDMI (C) input – shows the screen of the connected device
- VGA (D) input - shows the screen of the connected device
 Document Camera
To show the document camera on the projector and recording, make sure you are showing the Lectern Computer, then double click the Document Camera icon on the computer desktop screen. This will open the document camera software on the computer.
Running a Zoom Meeting for Remote Students
Running a Zoom meeting allows students that are remote to see you and your shared content, hear you, and engage with you. Start your Zoom meeting by following these directions:
Access and Start Zoom Meeting
- Double click the Zoom (A) icon on the Lectern Computer desktop.
- Click Sign in with SSO (B) and type ‘UAB’ (C) as the domain.
- Provide your BlazerID and Strong Password and complete the DUO requirement.
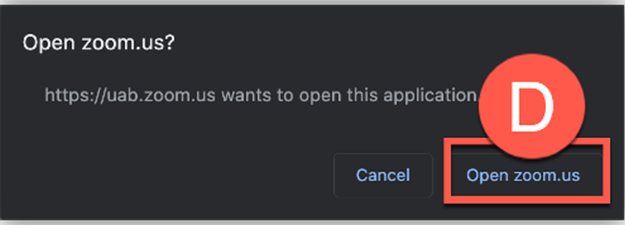
- Click Open Zoom (D) in the dialog box that appears.
- Click ‘Meetings’ to find the desired scheduled meeting and click ‘Start’ or start your personal meeting room by clicking the ‘New Meeting’ icon


 Choose Audio Options for Zoom
- Click Join Audio on the bottom left of the Zoom toolbar and choose to Join With Computer Audio (E).
- Click the Arrow (F) beside the Mute button to choose the microphone and speaker.
 Microphone
ChooseSpeakerphone (AV Bridge Mini) (G) so that participants in the Zoom meeting will hear the professional microphones in the classroom. [gooseneck, lavalier, ceiling mic)
 Speaker
- Choose Crestron (Intel®) Display Audio (H) so that you can hear the Zoom participants across the classroom speakers.
- Click Unmute when ready.
 Choose Video Option
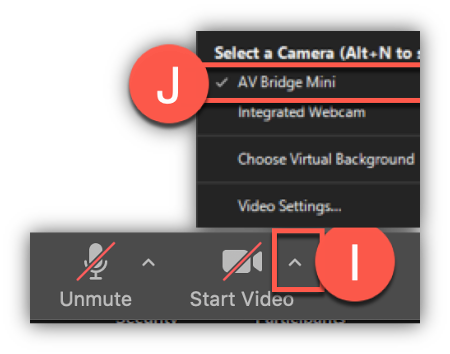
Click the Arrow (I) beside the Start Video button to choose the camera.
 Camera
- Choose AV Bridge Mini (J) to choose the Classroom Camera
- Click Start Video when ready.
 Choose Share Option


Click the Share (K) button on the Zoom toolbar and double click Desktop/Screen 1 (L) to share the same thing you are showing on the projector in class. Click the Share Computer Audio (M) button if you will be playing any videos.